
Creating a 2D Screen-Printed Look in Blender 3D with Grease Pencil: Recreating a Disneyland Poster
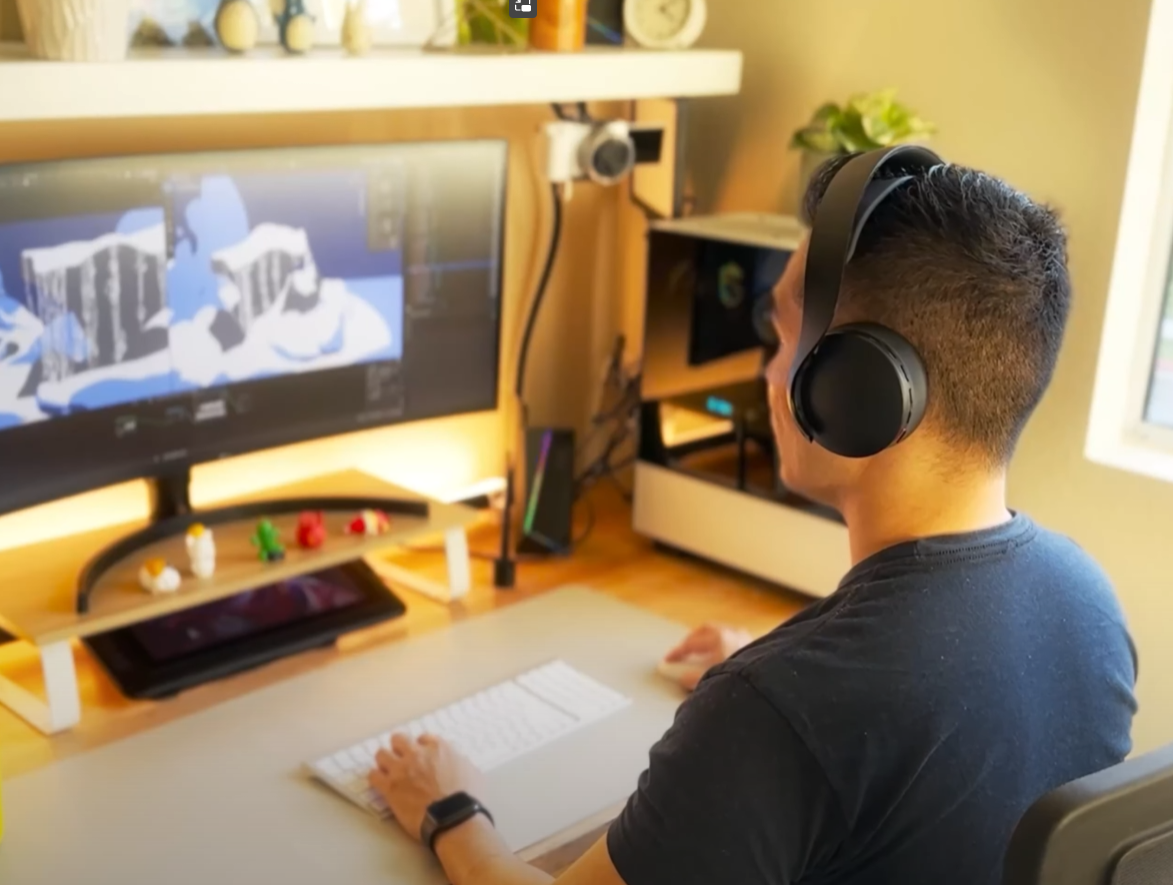
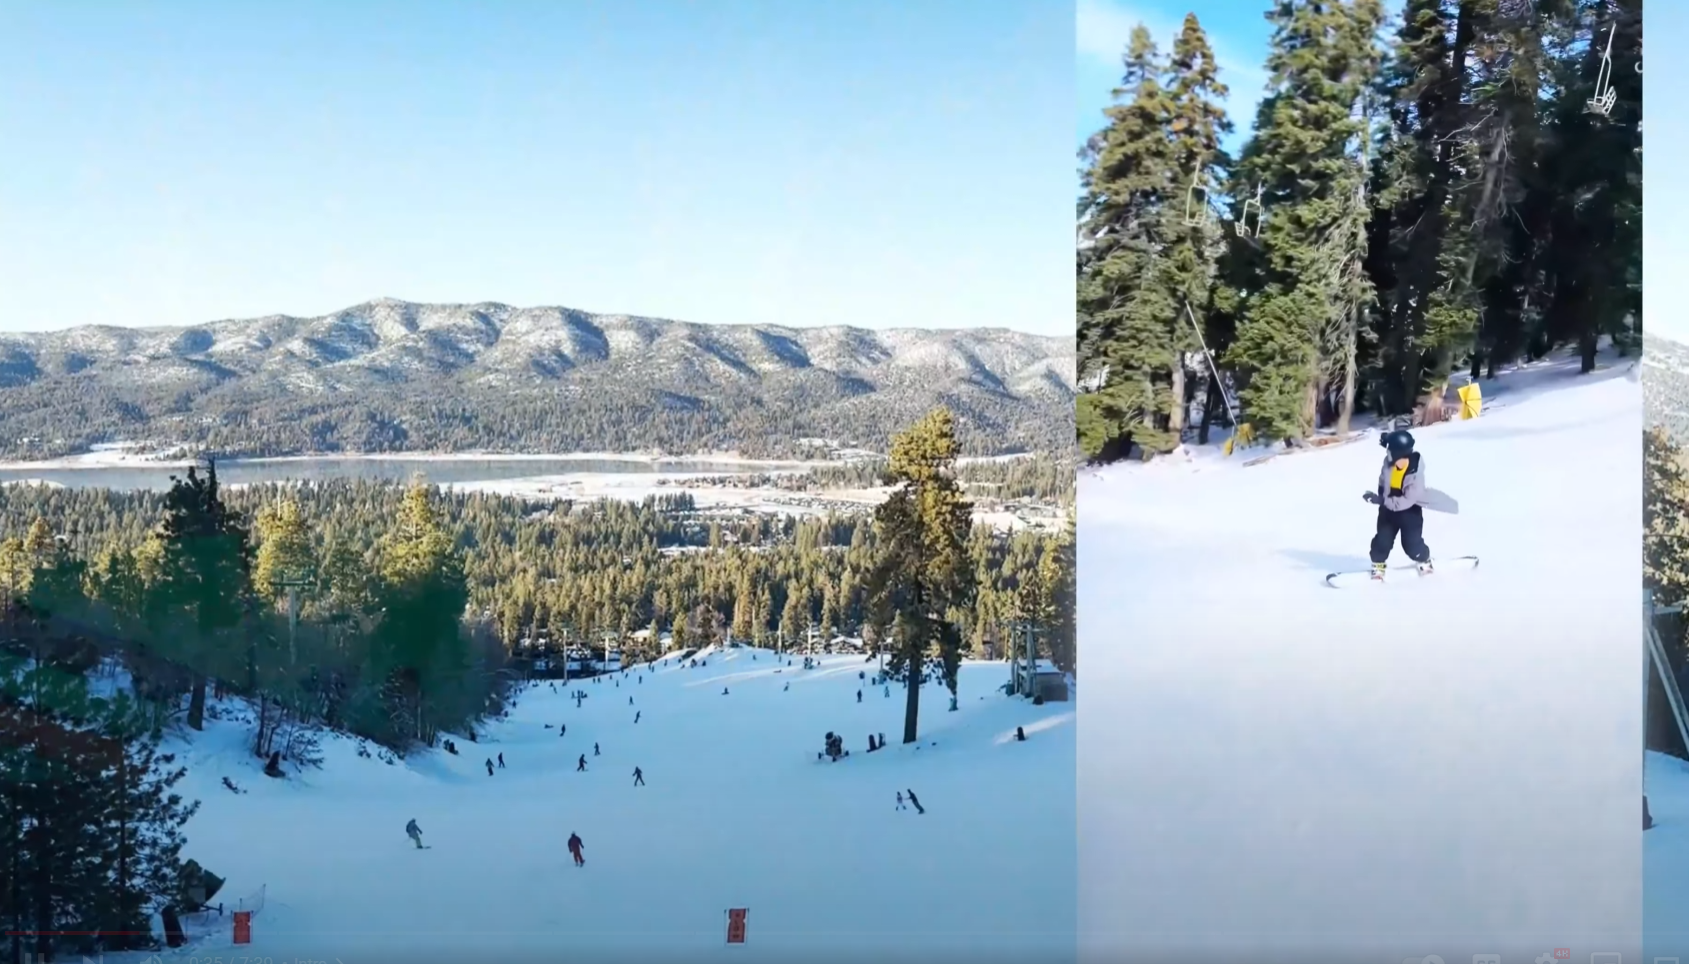
Hey everyone it’s Kevin and I hope you guys have been well. I just came back from a fun trip up in the mountains to celebrate a friend’s birthday and do some snowboarding. I usually go this time of year to see the snow and enjoy the change of scenery. Anyway, this inspired a new scene I created in Blender 3D with Grease Pencil. In this video, I’ll walk through my process of recreating a 2D screen-printed look, which I’ve been wanting to experiment with.

Disneyland Attraction Poster by Paul Hartley from the 1950s
This piece is inspired by the Matterhorn Bobsleds attraction in Disneyland California. It’s a high-speed rollercoaster that takes riders through ice caverns, waterfalls, and past menacing yetis. The attraction is iconic to the park, as it is housed within a 1/100th scale replica of the actual Matterhorn Mountain in the Alps. Recently, I've been on a Disney theme park kick and thought it would be fun to try recreating the 1950s poster by Paul Hartley, but in 3D.
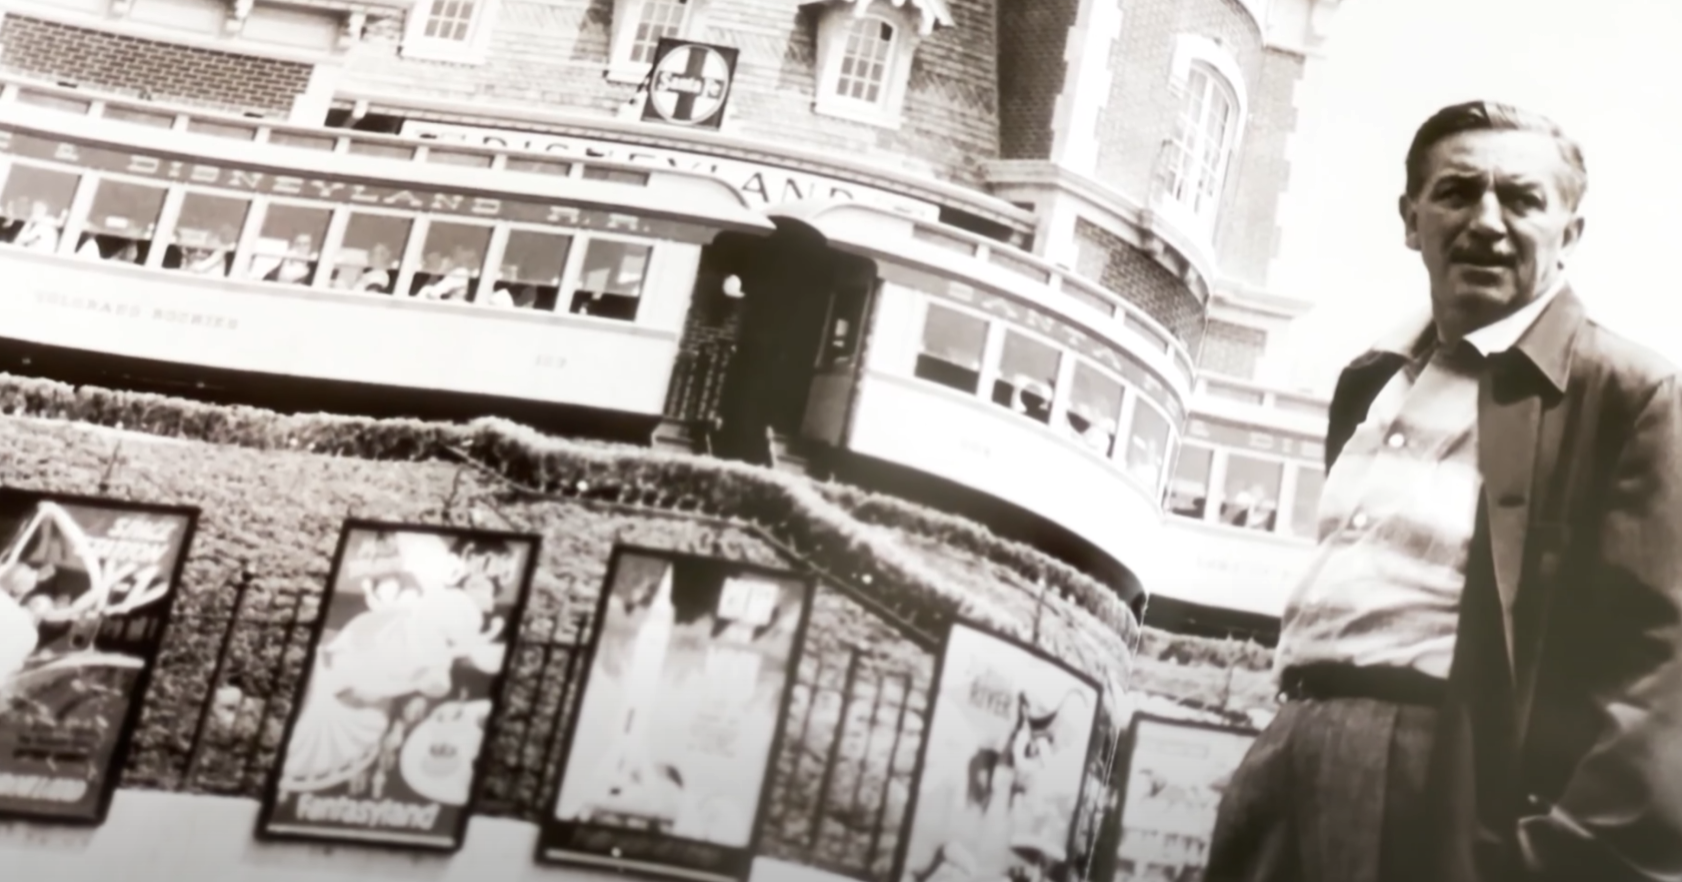
Attraction posters were a main staple to Disney Parks. They gave a glimpse of what guests could experience and were displayed right at the entrance of the park. And at this time, they had a distinct, travel poster style. They have an illustrated look characterized with bright, bold yet limited colors, and strong contrasts to emphasize lights and shadows. The primary purpose of these posters was to be easily recognizable and attention-grabbing while evoking a sense of adventure. Now, these posters were generally screen printed, a process where ink is forced through a masked stencil or mesh onto a surface, one color at a time. I’m not sure if this printing method influenced the style or if the style was simply a derivative of minimalism, but it allowed for reproducing designs on various mediums and in different sizes.
Vintage Attraction Posters at the Main Entrance to Disneyland

Skyway Attraction Poster
I really love the screen printed look as its simplistic approach allows the viewer to focus more on the emotion and imagine the experience it conveys. My goal in recreating it in 3D was to add depth and add to the immersion
Again, I’m using Blender which is great for creating that 2D/3D aesthetic. The way this scene is set up is I have the base elements modeled like the mountain, rock formations, and vehicle. Then, they’re shaded with a simple toon shader that emphasizes the light and dark areas. And lastly, it’s supplemented with grease pencil details for the more illustrated elements.

Disneyland Matterhorn Scene Recreation in Blender 3D without Shading

Disneyland Matterhorn Scene Recreation in Blender 3D Complete

Creating a Simple Toon Shader in Blender 3D with Eevee
If you’re not familiar with grease pencil, it’s an object within Blender that allows you to draw 2D directly in 3D space. It’s extremely useful and versatile when combined with other 3D elements. If you want to learn more about it, you can check out my grease pencil course I released with CG Boost and I’ll have more info at the end of the video.
Using the poster as reference, I began by modeling the track path in the center here. I used a subdivided mesh plane and estimated the distance from the camera to the Matterhorn. Next, I moved onto modeling the mountain using another subdivided plane. This process was pretty loose as I just tried to match the reference.

Modeling the Bobsleds!
After that, I started shading the meshes. The shading I used was a simple toon shader setup which is just a principled or diffuse BSDF to a Shader to RGB node, and lastly a Color Ramp node. If you’d like to learn more about it, you can check out my video about simple stylized shader setups and I’ve leave a link below. As the shader is affected by light, I tried to match the color coverage by adjusting the geometry and bringing in lights. This was a little tricky because I had the manipulate some of the geometry in a weird way, but it worked out.
I then brought in more rock formation meshes and tried to build out the scene beyond the vertical orientation it was originally in. As this style uses a limited color palette and relies heavily on contrasting values, I used at most 6 colors for the scene. Next, I created the rails and modeled and shaded the bobsleds.
After completing the base elements, I moved onto working with grease pencil. So here, I have ice trails coming down these rock formations, details on actual mountain, and snow drifts.
For those, I used the official free grease pencil brush pack , which can be installed via the Grease Pencil Tools addon. To do that, you can go up to Edit > Preferences > Add-Ons and select “Grease Pencil Tools”. Then, with your Grease Pencil Object selected, you can go into Draw Mode and click the Active Tool and Workspace Settings tab. Then, Click the Layers Specials dropdown and then you’ll have the extra grease pencil brushes appended to the default ones.
I also used Grease Pencil to create illustrated details such as the excited riders. And the Matterhorn and Fantasyland fonts. I used fill materials to get really precise with it. Lastly, I animated some elements, added falling snow, and added additional effects to the scene.

Drawing Excited Riders with Grease Pencil in Blender 3D
And that’s it for the scene. Overall, this was a fun and challenging exercise in creating 2D/3D artwork. I love experimenting with different styles and I was happy with the outcome. Also, if you’re interested in learning more about grease pencil, you can check out my course I released with CG Boost called “Master Grease Pencil in Blender”. In the course, I cover everything you need to know to get started and by the end, you’ll have created this medieval fantasy village scene. The first part of the course is designed as an introduction to the tool with future lessons focusing on a 2D/3D workflow. You can find the course on the CG Boost Website and I’ll leave a link here: Check Out My Grease Pencil Course!
If you guys have any questions or comments, feel free to leave them below. Thanks again and see you guys next time.